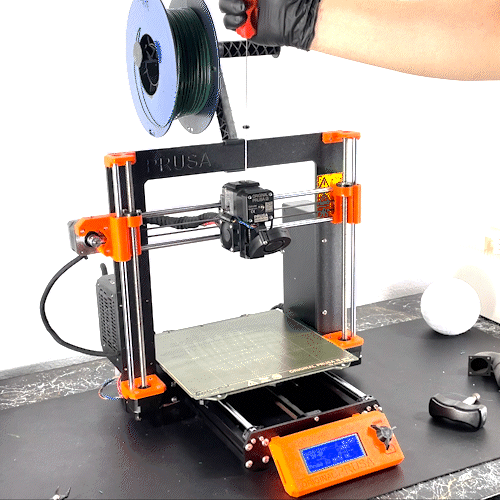
How to Use NoClogger
NoClogger is designed to clear clogs from your heatsink and nozzle, helping extend the lifespan of your printer’s nozzle and heat break by up to 20 times. However, NoClogger cannot remove physical obstacles such as filament jams in your extruder gear.
Step 1: Diagnose Your Issue – Clog or Obstacle?
Before using NoClogger, determine the root cause of your problem.
If NoClogger Won’t Insert Into the Printer
- Possible cause: Filament jammed in the extruder gear.
- Solution: Open the extruder gearbox and remove the obstruction according to your 3D printer’s manufacturer instructions.
- Once the obstacle is removed, proceed with NoClogger.
- more info +
- Turn off and unplug your printer to avoid damage.
- Disassemble the extruder gearbox following your manufacturer’s manual.
- Carefully remove any tangled or ground-up filament pieces.
- Clean the extruder gear with a small brush or compressed air.
- Reassemble the extruder and test filament feeding to confirm the fix.
Filament jams in the extruder gear can occur due to filament grinding, improper feeding, or debris buildup. To fix this:
If NoClogger Inserts But Printing Issues Persist
- Possible cause: A clog in the heatsink or nozzle.
- Solution: Follow the NoClogger cleaning process below.
- more info +
- Set your nozzle to 280°C (or 300°C for high-temperature filaments).
- Insert NoClogger slowly and push/pull gently to break the clog.
- If the clog persists, try a cold pull method using nylon filament.
- Inspect your nozzle for carbon buildup and clean it if necessary.
Clogs occur when filament burns inside the nozzle and solidifies, blocking filament flow. To remove:
Step 2: Preparing Your Printer
- Disable Your Extruder Stepper Motor
Most 3D printers lock the extruder stepper motor, preventing manual movement. Disable the motor in your printer settings before using NoClogger.
more info +Disabling the stepper motor prevents the printer from resisting manual filament movements. To disable:
- Navigate to your printer’s settings menu.
- Find the option labeled "Disable Steppers" or "Disable Motors."
- Select and confirm the change before proceeding.
- Set the Correct Nozzle Temperature
- Standard filaments (PLA, ABS, PETG, etc.) → 280°C
- High-temperature filaments (Nylon, Polycarbonate, PEEK, etc.) → 300°C
Step 3: Using NoClogger
- Insert NoClogger slowly into the filament path.
- Gently push and pull NoClogger to dislodge any clogs.
- Remove NoClogger and check for melted filament or debris.
- Repeat the process if needed.
- Run fresh filament through the nozzle to confirm it's fully cleared.
Final Notes
- NoClogger is a preventative tool—regular use helps avoid major clogs.
- Do not force NoClogger if something is blocking the extruder—check for obstacles first.
Have more questions? Visit our FAQ page for additional information.